10 Tips for Making a Travel Photo Book
All too often in this day and age, our holiday memories are doomed to live in the depths of our mobile phones forever. But, here at HA, we know we design holidays worthy of printed memories. So, we’ve teamed up with the brilliant Bob Books to help make sure your travel photos get out of the digital realm and onto your coffee table. Read on for 10 top tips for how to put together the perfect travel photo book that your trip deserves.
Have you recently returned from your holidays with hundreds of beautiful travel snaps that you’d like to preserve and share with friends and family? Or maybe you have an ever-growing collection of holiday photos from over the years that you rarely look at?
Although social media tends to be the first place we think of sharing our travel photos, there’s something undeniably special about a physical book that you can flip through and display on your coffee table at home.
Fortunately, using your photos to create professional-quality travel photo books is easier than you might realise. To help you get started, we’ve put together some useful tips and advice for putting together a travel photo book with Bob Books.
Organise your photos
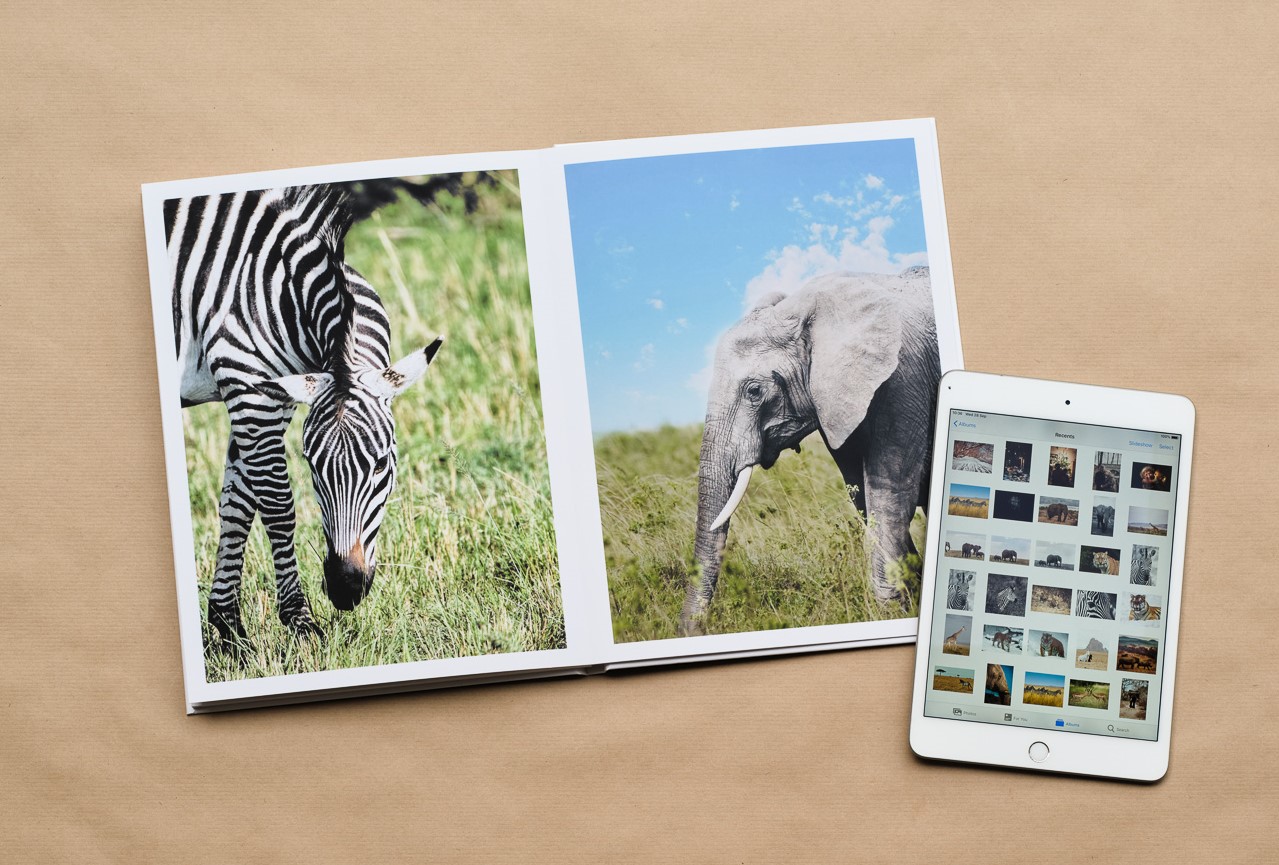
Before you even think about the format and layout of your travel photo book, you’ll need to organise the content. This means going through your photo archives, selecting the strongest images, and then saving them together in a folder on your PC, MAC, smartphone or tablet so they can be easily added to your photo book.
Aside from taking care to select images that are sharp and well-lit, you should also look for photos that tell a story and provide a sense of what your journey or holiday was really like, from silly airport selfies to beautiful panoramas of cities and nature.
Edit your photos
Once you have all the photos you would like to include saved together in a folder, give them a once-over to see if any edits are needed, such as cropping and adjusting the exposure, white balance, colour temperature and contrast.
If you want to make sure the style is consistent throughout your photo book, you could even choose a specific preset or filter and apply it to all the images you want to use. It can also be nice to group photos with similar hues and tones together, such as blue tones from the beach and poolside or colourful photos of sunset and sunrise.
Choose a format and paper type
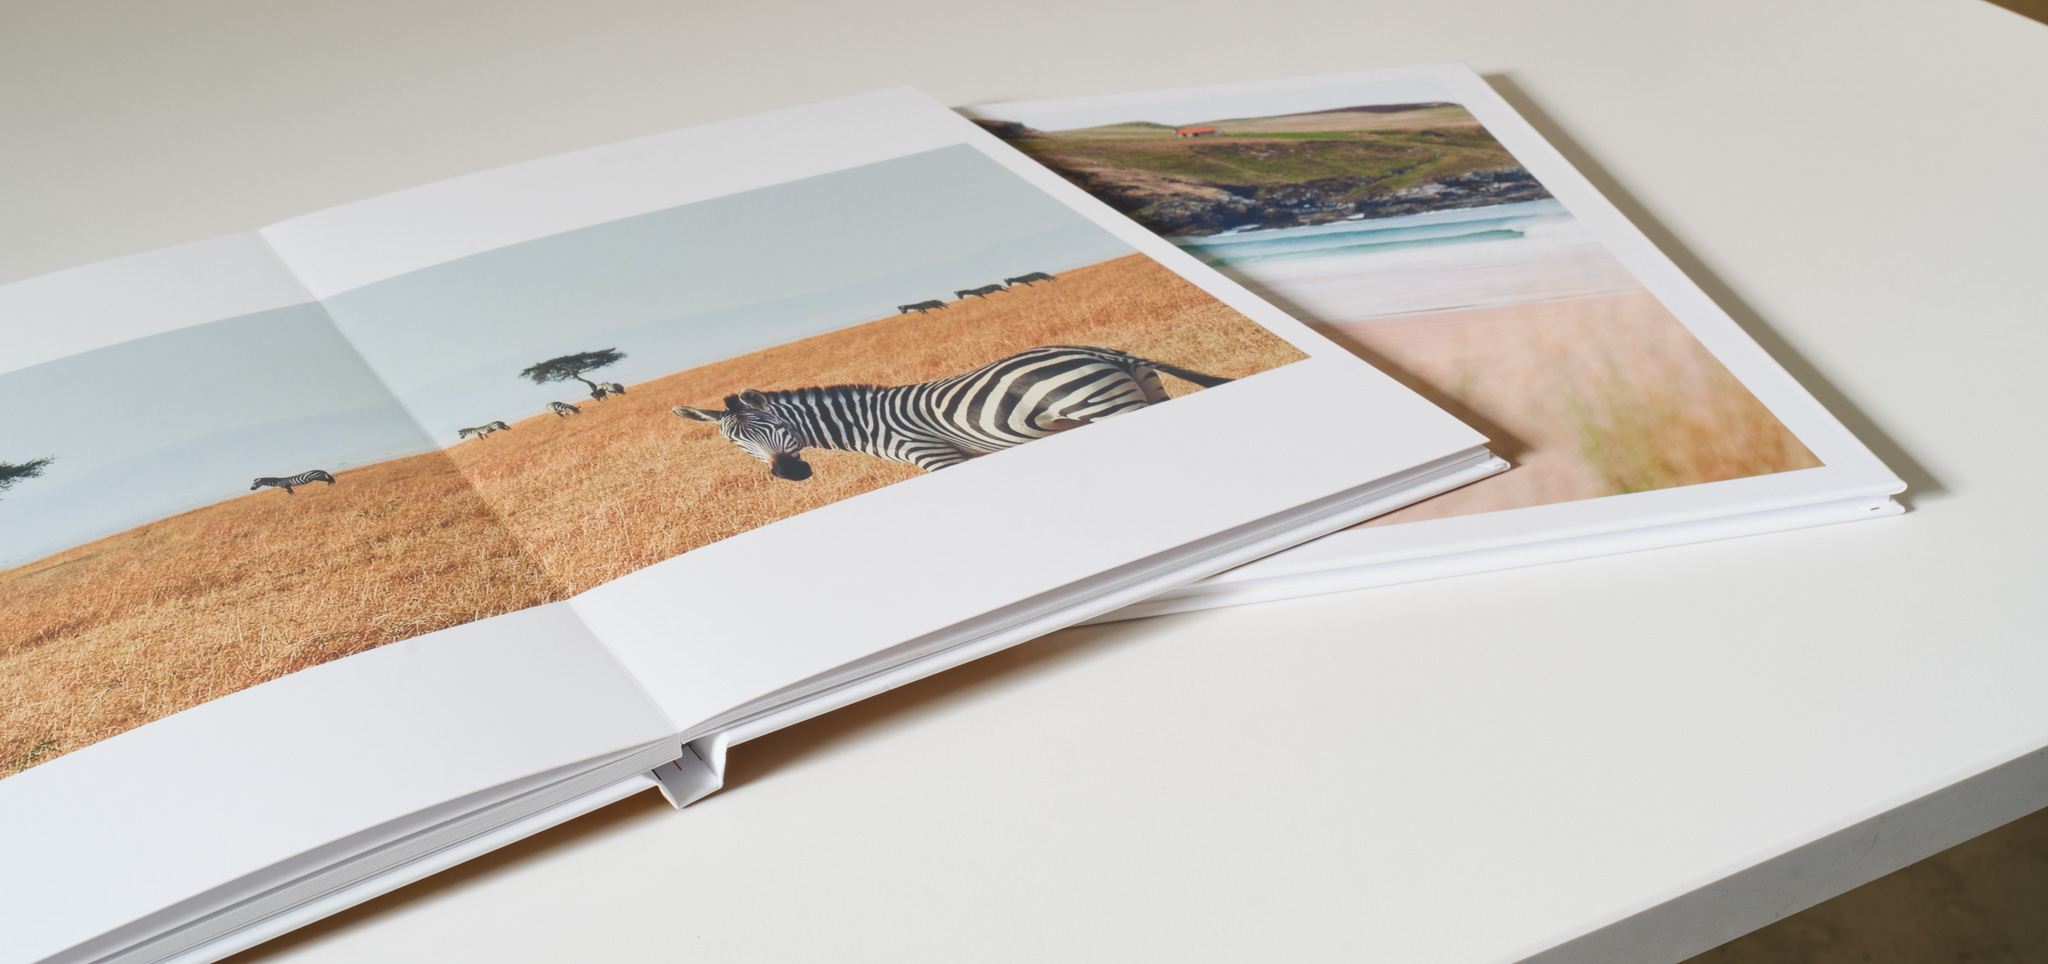
Once you’re ready to begin making your photo book, you will need to first select your preferred photo book format and paper type, as well as hardcover vs softcover. Although any format can work well for travel books, we love the landscape format for highlighting striking scenery on double page spreads with lay-flat binding.
Our classic paper type works well for any type of photo book, but if you’ve opted for a lay-flat photo book, we recommend the lustre photographic paper, which produces sharp detail and vivid colours without too much shine.
Decide on a theme
Before you begin putting your photo book together, it can help to think about the main purpose of the book. For example, are you simply looking to preserve and share your travel photos with friends and family or are you hoping to showcase your travel photography and maybe even sell a few extra copies of the book?
Choosing a theme for your travel photo book can help you decide which images to include. Examples of themes include ‘black & white’, ‘family travel’, ‘nature and wildlife’ or ‘city break’.
Use a template as a guideline
Once your photos have been selected and edited, it’s time to think about the design and layout. If you’re short on time or just need some help envisioning the layout of your photo book, you can use one of the readymade templates available in the Bob Designer software. The templates range from fun and colourful to clean and minimal, so there’s something to suit every style of photography and travel.
Include text and captions
Although text is not a must in a travel photo book, there are certain things that can be nice to include as you’re likely to forget some of the details down the line. For example, you could include a little intro at the beginning of your book with details about when you took the trip and anything else you’d like people to know about your destination.
Alternatively, you could include individual captions along with the photographs to share details of when and where they were taken or even add personal stories to jog your memory when you look back on the photos years later.
Add some fun extras
Along with photos, you can add other fun extras to bring your travel book alive, whether it’s a map of the place you visited or a little fact sheet to share any interesting information you learned about a historical site or city. You could also scan in some memorabilia to include on one or two pages of the book, such as boarding passes, visa stamps and museum tickets.
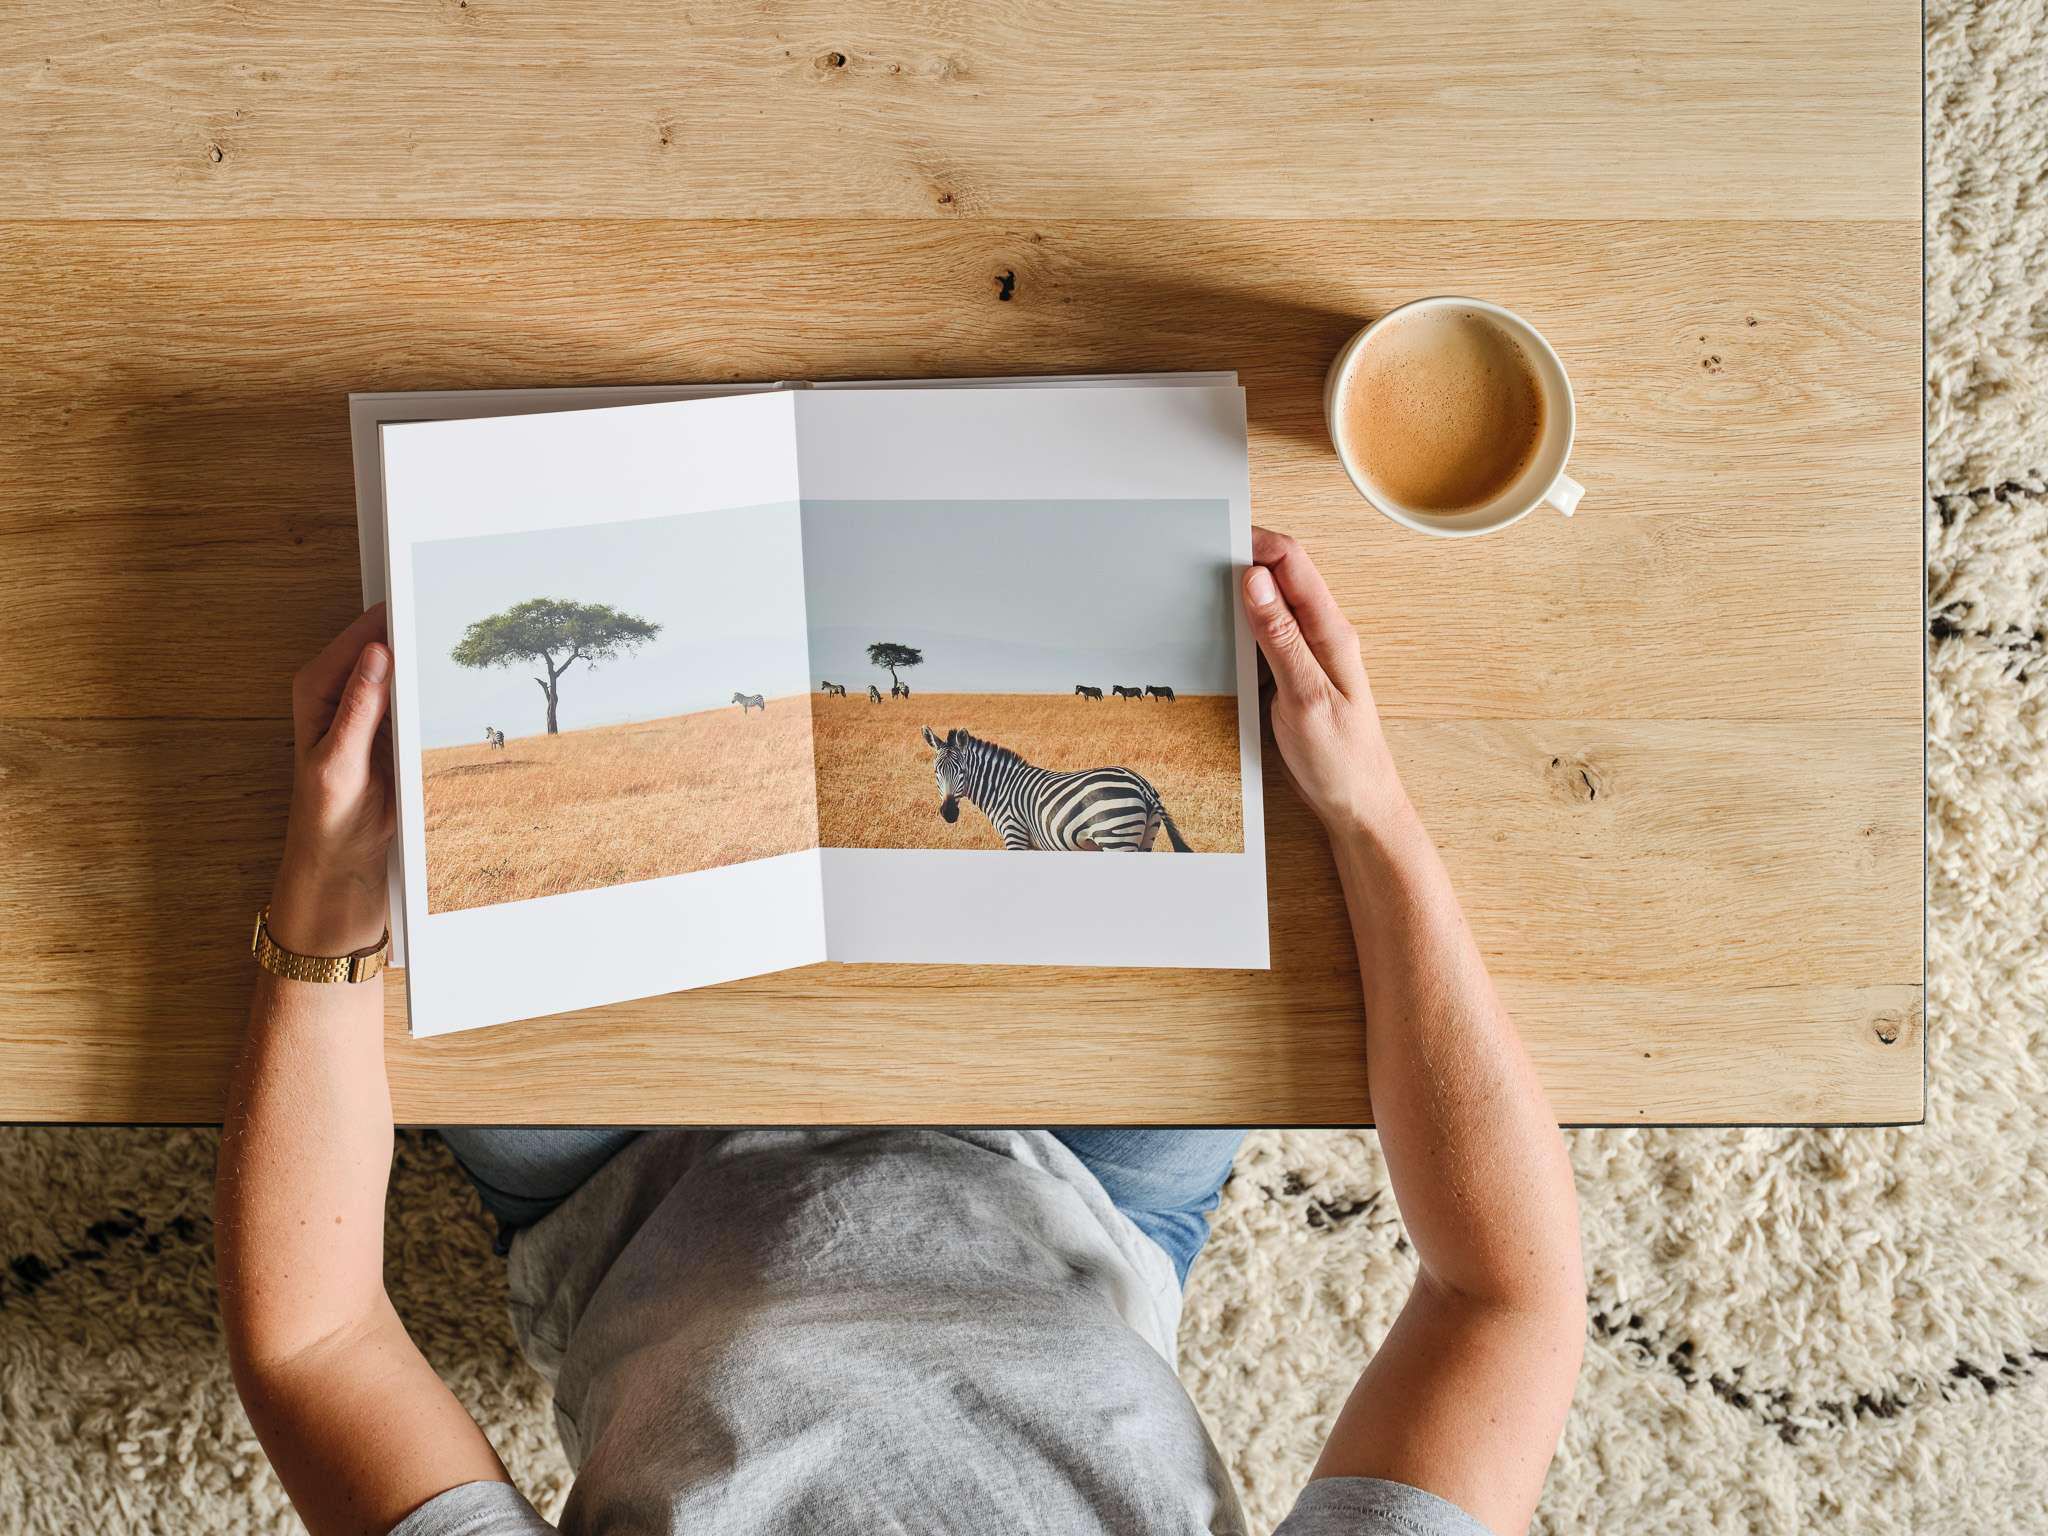
Leave some white space
You’ve probably heard the old adage that “less is more” and this is certainly true when it comes to the design of your travel photo book. Make sure you leave some white space on each page and between images so that each photo will have room to stand out. If you have a lot of photos to include, you can choose a mixture of page layouts, with some featuring multiple photos alongside and others highlighting just one image on a single or double-page spread.
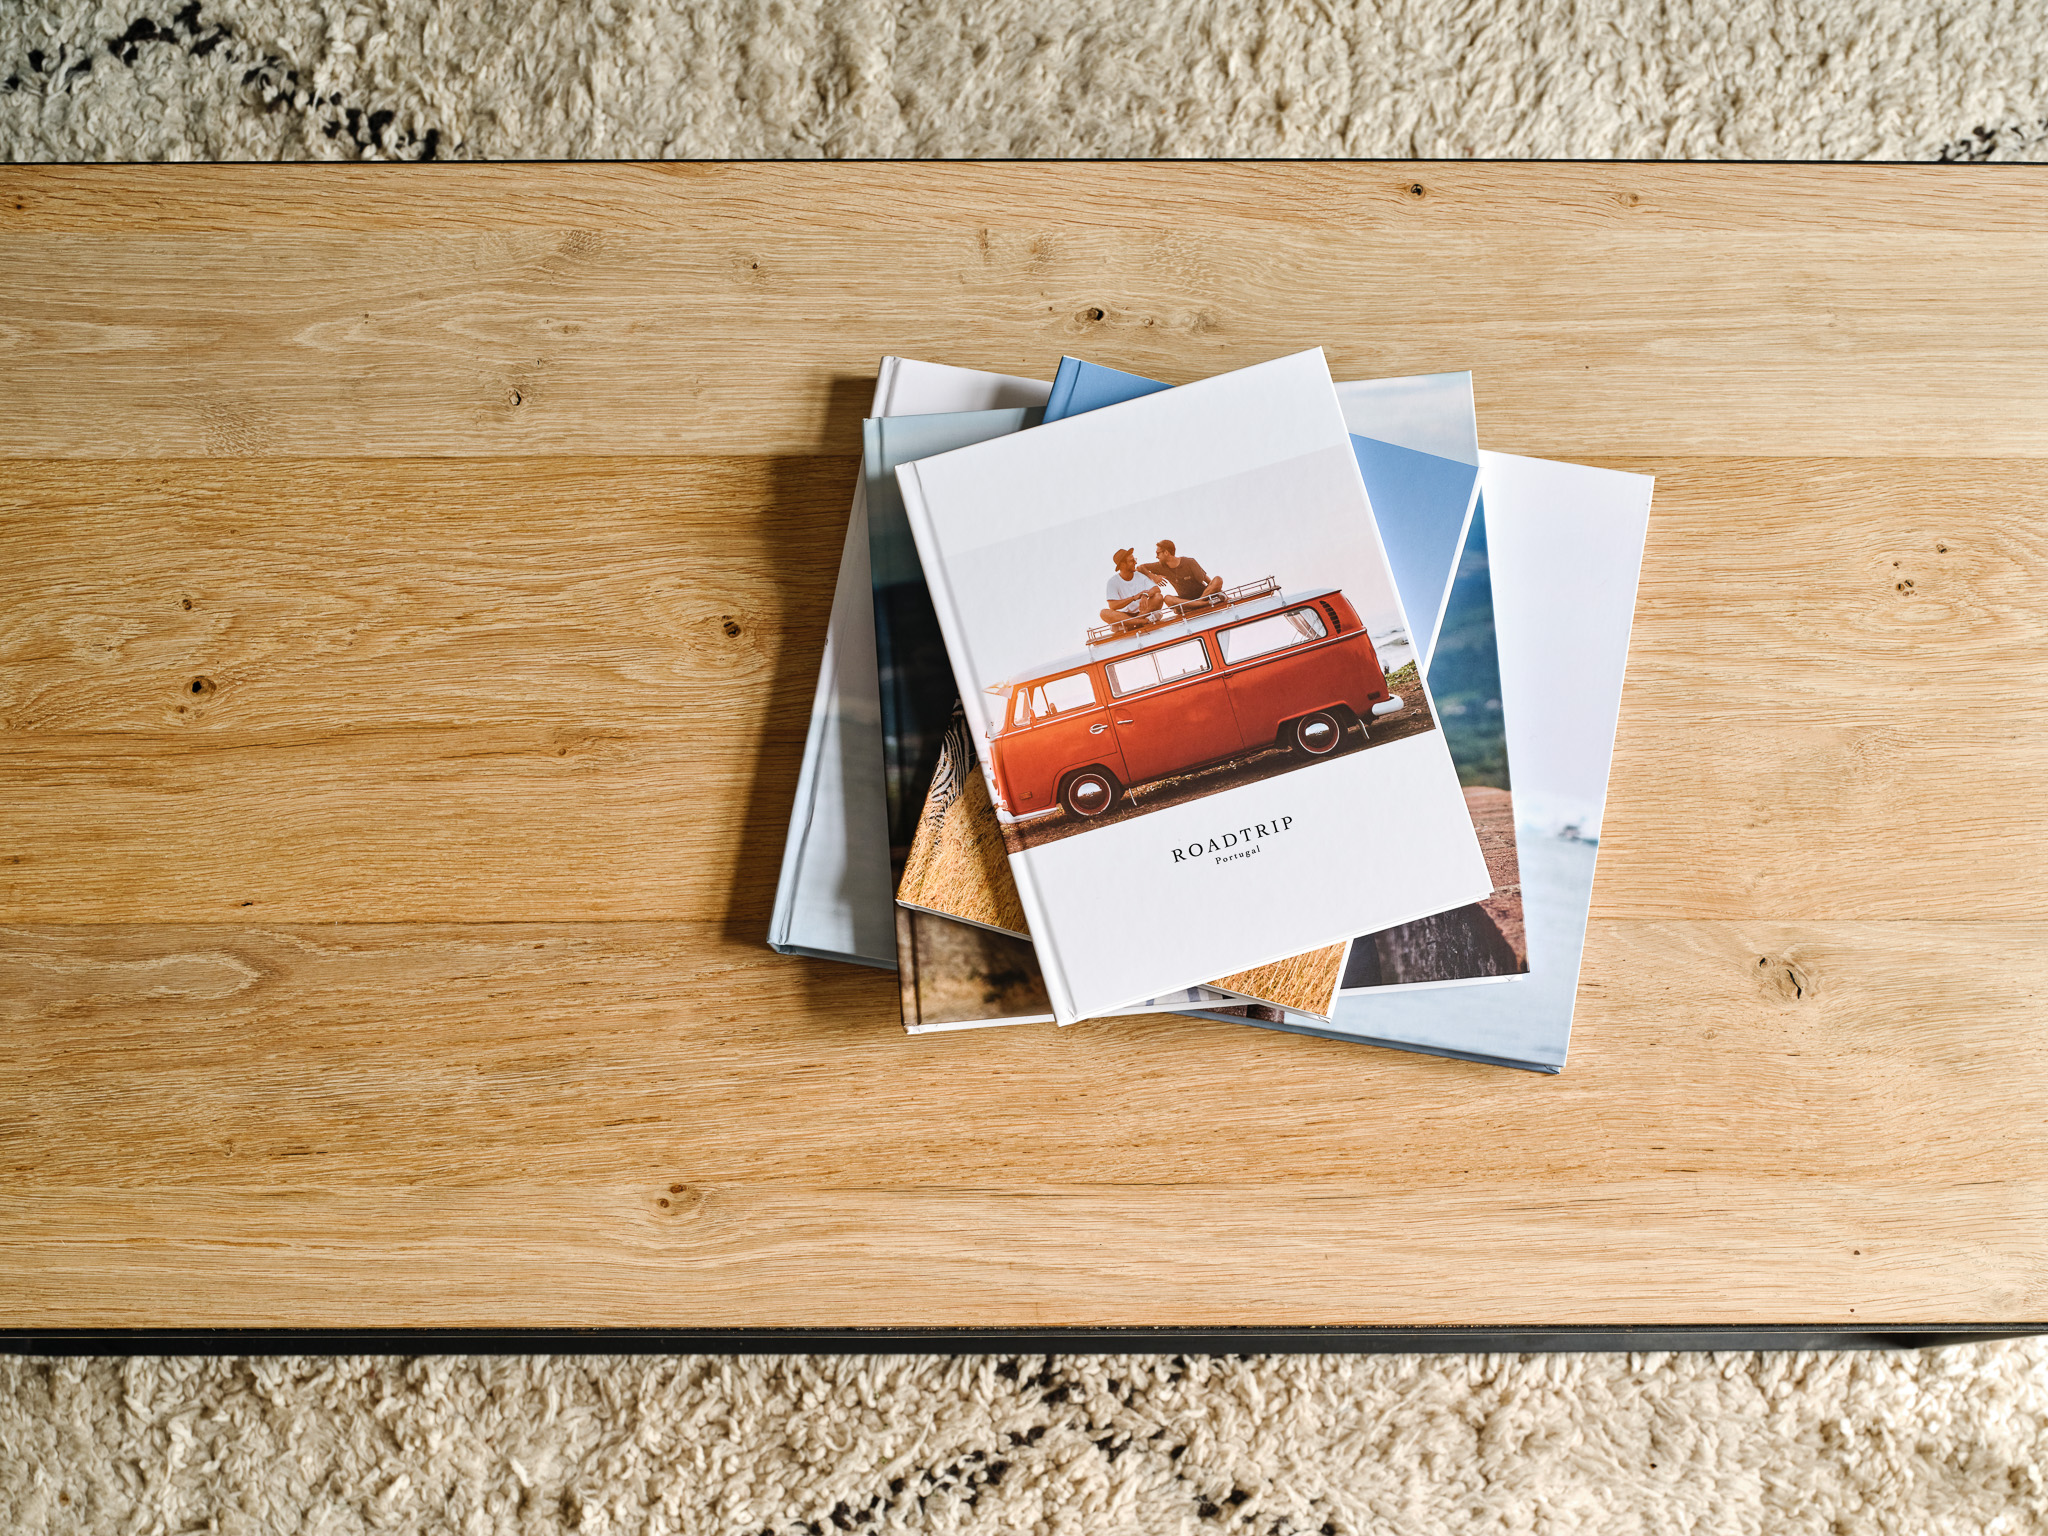
Design an eye-catching cover
Since the book’s cover is the first thing anyone will see, it’s worth spending a bit of time thinking about what you want it to look like and choosing the right title, font and cover image. Make sure you include a title that sums up the book and feature at least one cover photo that conveys a sense of what your trip was like, whether it’s a fun group photo or a beautiful landscape image.
Publish and share
Once your book has been completed and ordered, you’ll have the option of publishing it in the Bob Bookshop. This is an excellent way to let any friends and family who may have travelled with you to view the book and even order an extra copy for themselves. If you’re looking to earn from sales of your travel book, you can also add an author markup and share a link to the book on your website and social media.
Ready to get started? Make sure you take advantage of the exclusive 20% discount on photo books that Bob Books is offering all Holiday Architects clients!
So, which unbeatable holiday will your first coffee table photo book feature? Get in touch with our team today on 01242 253 073 to chat through potential holiday ideas and start working on finding the perfect one for you.